Wednesday, November 23, 2011

How to Make a Beautiful Garland to decorate with.

IMAG0429IMAG0436

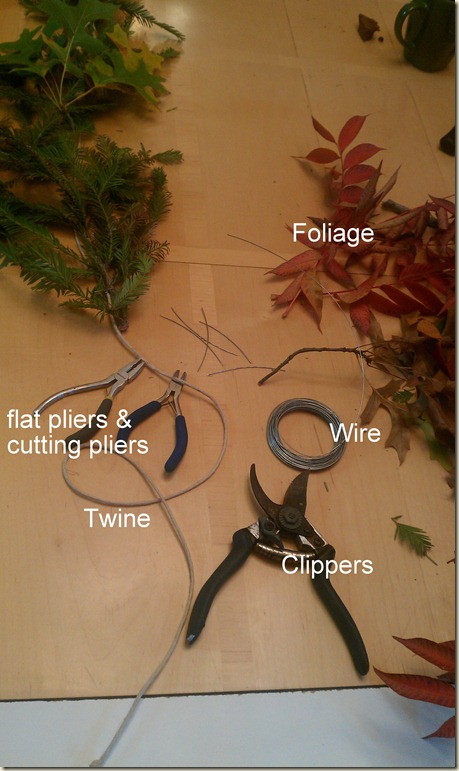
The things you need:

Twine as long as you would like your garland

Wire 19 gauge or a little thinner will work

Pliers cutter for wire and flat with teeth

Garden clippers

Foliage go on a walk and gather yourself a decent selection of healthy beautiful branches, berries, little fruits.. whatever you would like to decorate with.

IMAG0422instruc

Step 1: cut your twine as long as you would like your garland, fold it in half and tie a knot in the center

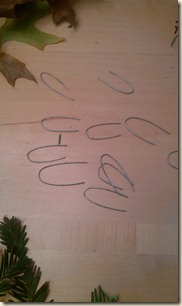
Step 2: Using your wire cutter cut 3” pieces ( or longer if your foliage is really thick) cut about 25 to start. fold them into U shapes.

IMAG0424

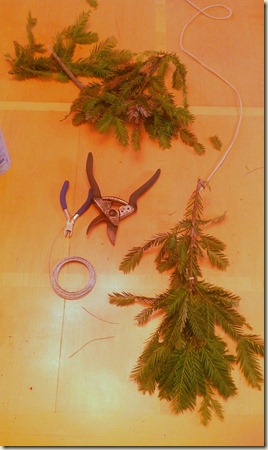
Step 3: Lay out twine and begin to cut your branches into pleasing 10” or so long lengths. You want the foliage to be leafy and full. I lay them out a few feet along the twine to see how it will look before I wire them on.

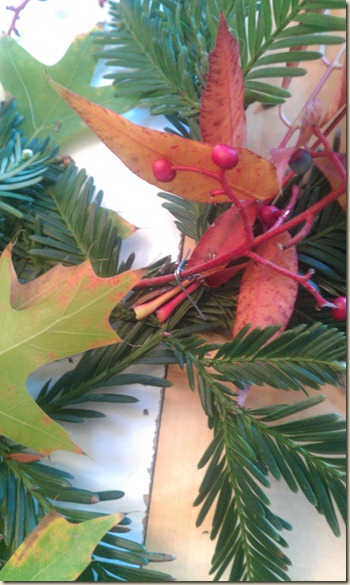
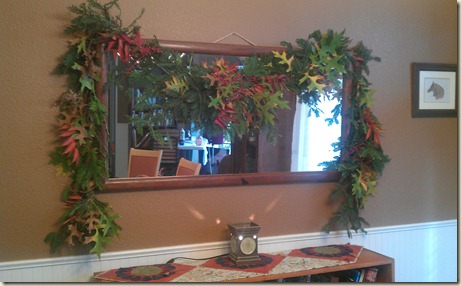
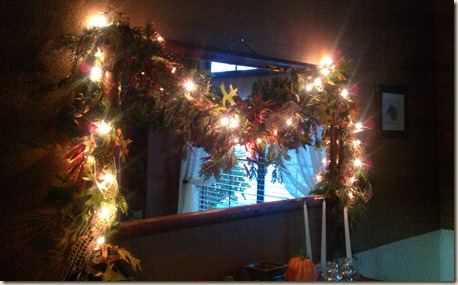
In this years garland I used Evergreen boughs as the main foliage and then I used smaller branches of fall leaves from an Ash tree with berries and an Oak tree with nice big leaves.

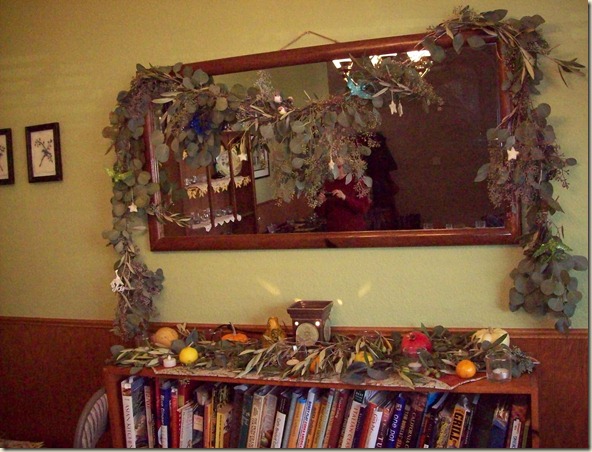
Other times I have used Eucalyptus, olive and pomegranate.


IMAG0423 

Step 4: At the end you start with tie the end of the twine to the middle of your first branch. this will help anchor the end.

I always point the cut end of the branch toward the center of the garland. the leaves down toward the ends.

Lay out your second branch over lapping the cut end of the first branch by a few inches.

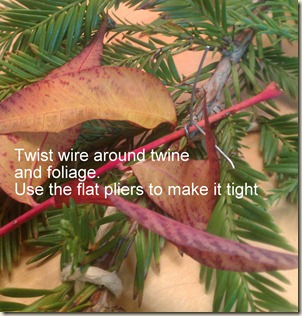
Use a wire and pliers to catch all pieces of branches and twine and twist them securely.

IMAG0421

Continue working your way to the center of your garland, overlapping and wiring branches and leaves in a pleasing arrangement.

I leave the wire ends a little long and not completely twisted until I am completely finished with garland. You can use the excess wire ends to wire on berries, lights , ribbons… whatever.

Step 5: When you reach the center of your garland, start placing your branches the other direction, cut end to the center. Foliage toward the end of the twine. using some smaller cuts of leaves and branches overlay the center area so the foliage hides the branch ends.

Continue as before, overlapping and wiring until you are at the end. Tie the end of the twine to the center of the final piece of foliage.

You can now use the small wire ends throughout your garland to attach berries, bows, ect.

IMAG0427

I just fold the excess wires over whatever little thing I am attaching.

If you want a bow, tie one with ribbon and leave the ends really long, gently wrap them around the garland anchoring with wires here and there.

You are finished! Now go hang it up and enjoy.

I have made these 50 feet long to wrap the whole front of my house… so you can make them as long or as short as you need.


104_0484

Wednesday, November 2, 2011

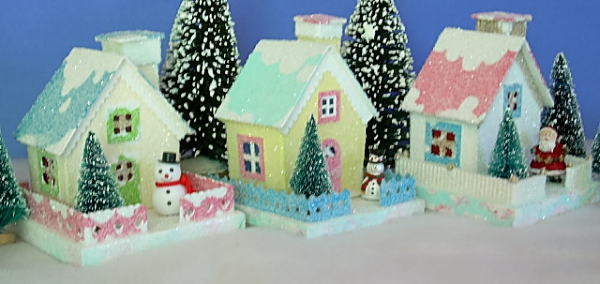
Miniature Sparkle Houses

Christmas is coming, right around the bend…. and I hope to make almost all my gifts for my fabulous family and friends. Which means I better start getting busy, I wrote my list and checked it twice… both times I found errors. So I probably better go over it a time or two again as the BIG DAY approaches.

I write this blog in hopes of inspiring other people in this world who may stumble upon it to CREATE. Reach inside find inspiration and make things. Use what is around you, cruise the net at high speed and see what others are doing. Stop rampant consumerism ( half of it gets tossed or re-gifted anyhow) and make a little gift that will be appreciated because it came from your heart, made with your own two hands.

This year I am making all sorts of fun ornaments, and I am sharing them here. Today it is the sparkly houses.

DSC_0016

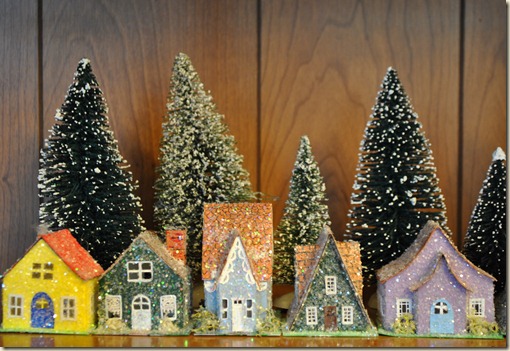
In my last post I linked a tutorial about making paper houses. I have now made a few of my own, with my own patterns. Mine are much smaller than the tutorial’s version, about 1:60 scale. They would look great with an N scale train running by.

DSC_0005

I have been getting very creative, I used tiny scraps of lace for curtains, model railroad windows and doors, bits of lichen for bushes. All these are really is paper, paint and glue.. and what a cute village I have. It will be hard to give them away, I really would like my own little glittering village.

You know they are adorable, are you inspired? Go make something.

Thursday, October 13, 2011

Finding inspiration online.

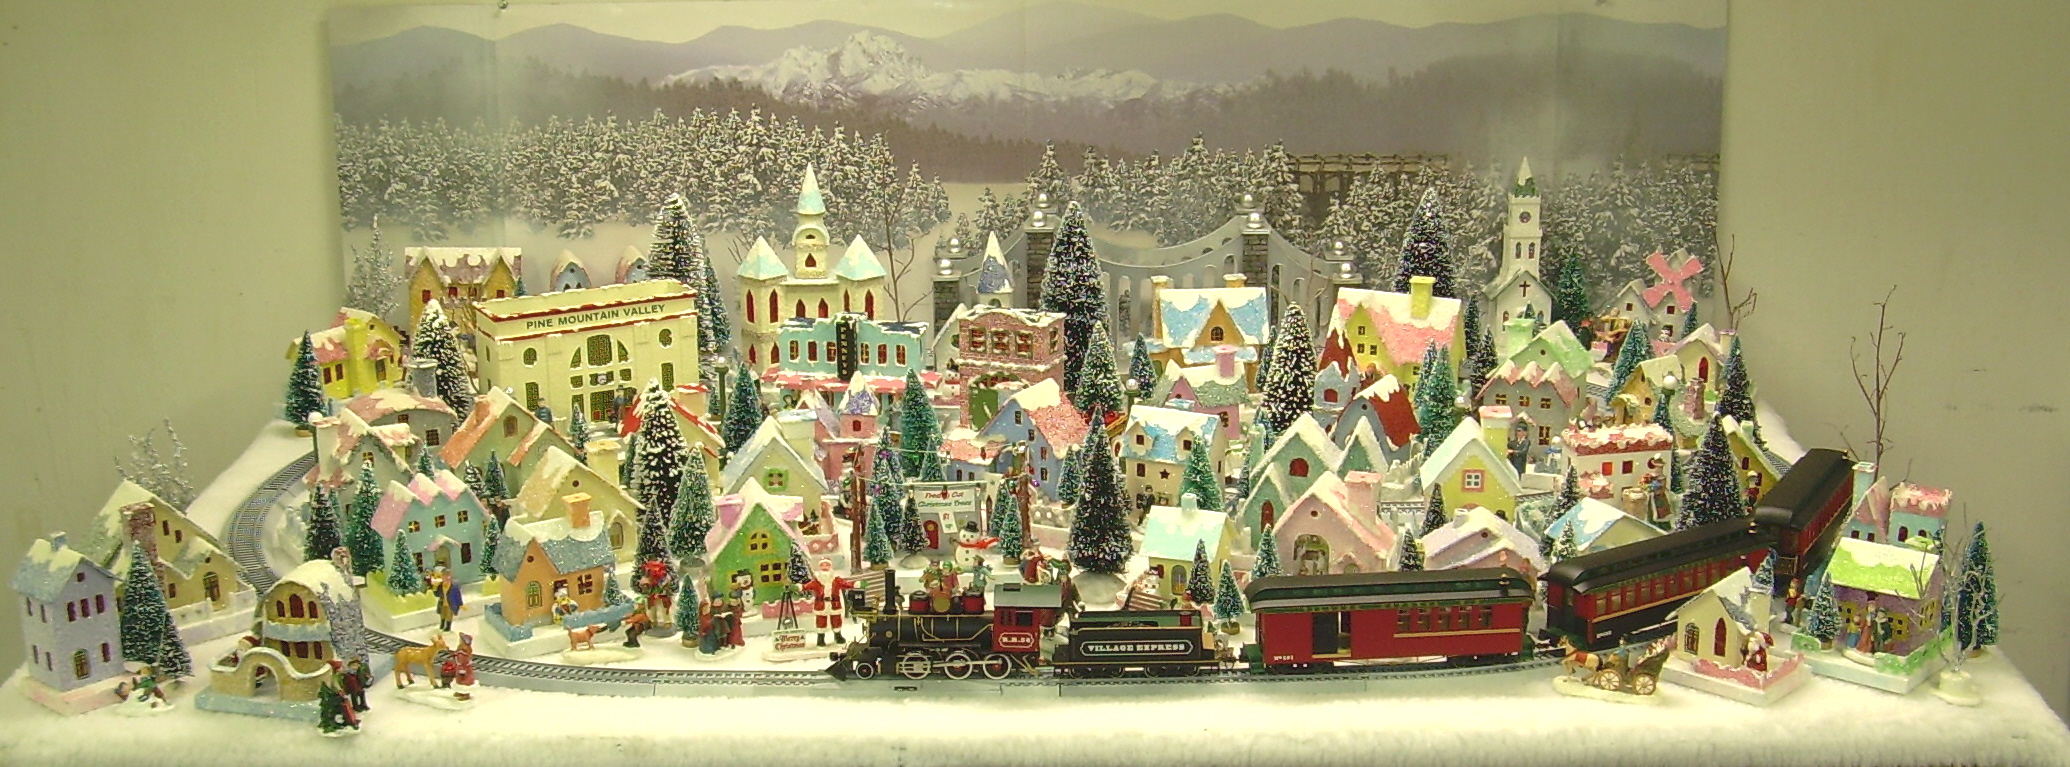
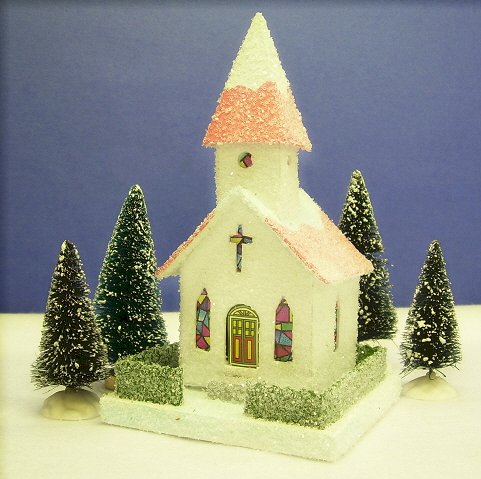
I almost always post my own creations here on my blog, but today I want to post about Little Glitter Houses by Howard L. Lamey, also known as Putz Houses. They were very popular at the turn of the 1900's and with today's renewed interest in handcrafting I think they are a perfect project or even a purchase. You can make your own or buy a kit, or even have a custom house made.


I love them, and of course I will be making at least one or two sometime soon. I just wanted to share this inspiration with others who may also enjoy the challenge. Howard L. Lamey has shared instructions for a basic house as well as instructions on upgrading the small house to a church.


Happy creating!

Wednesday, September 21, 2011


Using the tweeds and fabric from yesterdays dye jobs.

My husband thought of the bow tie and spectacles isn’t that to cute ?

Next bird in the works is another owl, this one in the pinks like the bird above… all cut out and ready for stitching.

And last but not least I’m cutting out fabric 9 patch mug rugs.

Tuesday, September 20, 2011

Dyeing tweed, wool and silk for little Christmas birdies.

 A year or more ago my dear Mother-in-law gave me three jars of dyes. A Yellow, Fuchsia and Turquoise… basically the three primary colors. I pondered and pandered about how to use them, as there no instructions or even a brand name… what fabric would they work on? Anyhow today I decided to stop screwing around and just experiment.


I did not have any extra pots or pans to donate to become a dye pot so I decided to use a freezer Ziploc bags, a ceramic bowl and then microwave the contents instead of boiling them.

I think I have acid dyes, check out Dharma Trading company to order your own. So after seeing that acid dyes are for fabrics that come from a creature such as wool from a sheep or silk from a worm.  I promptly went to my stash and cut the arm off an old wool suit, cut some pieces of tweed, cut chunks off my silk/rayon, a scrap of pure wool felt and store bought wool/rayon felt.

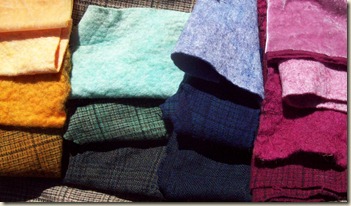
I say dying was a smashing success. The fabrics that contained rayon are the lighter ones in the photo, rayon is made of plant and acid dyes do not work on plant based fibers. Yet the wool part did take the dye, the silk velvet is so pretty. I can’t wait to make something from it.  

104_1238

The moral of this story is, I should have been playing with dyes long ago. The microwave worked great, I only nuked each bag about 5 min until the water was clear. I am now eyeing all my fabric wondering if I should throw it into the vat.

Now, what am I doing with wool and felt and silky soft velvet?

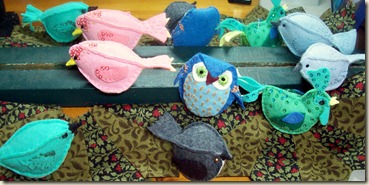
I'm making my holiday gift stash… these will become ornaments. I plan to make at least 20 and I’ve just started fleshing out patterns. I do love birdies, this will be fun.

104_1242

Now imagine these cute little birds made from the colorful  wool felt and tweed pictured above. So cute…

I’m off to create!

Friday, September 2, 2011

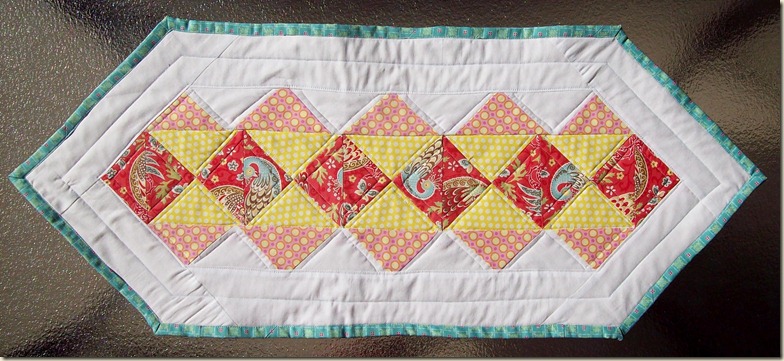
Scrappy Little Table topper

104_1146

I love all the prints that went into this cute little table runner. I made a bunch of cute apron a years or so ago and the scraps from that project ended up cut into triangles. I have some grand plans for all those scraps, but I left then in a drawer until I don’t quite know what my plan really was….. So after a few layouts, I decided to just commit and make something cute, colorful, small and playful.

The results are so fresh and happy, I love it. It will make a fine little gift for someone special.

104_1148

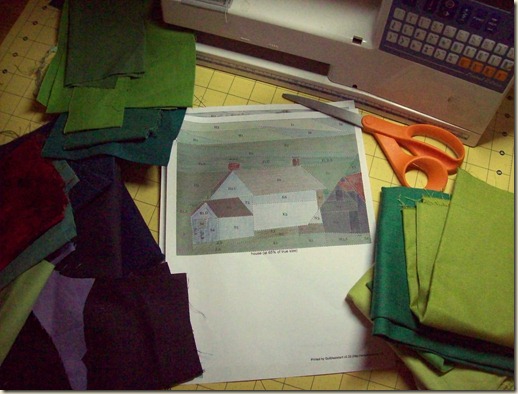
Project of the day, Paper piecing. I’ve never done it, but it looks doable. I made a pattern on a super cool freeware program called Quilt Assistant . You open a picture and you make your own paper piecing pattern. The website has a PDF tutorial that covers all the basics. I thought the pattern making was a cinch. What I have not found out is if I can actually make it.

My first project will be the farm house and red roofed barn. I think I made it 12”x9” or so.

We have some fun plans for this Labor day weekend, how about yourselves? Anyone going on a fun end of summer adventure?

We are going to head out to San Francisco in the morning with a couple of good friends, I get to drag my awesome husband and friends to Peapod Fabrics. Peapod has some fabulous, cuter than possible fabrics, and I will of course be buying something for a future project.

We are then heading to Cha Cha Cha for a divine Spanish Tapa’s style lunch. Seriously, this little restaurant rocks, I can’t wait. If you find yourself in the Haight & Ashbury area, GO THERE!

Then the real party begins, we are going to booze it up, go see some Giants and meet up with a bunch more friend's, party a little bit more…. at the end of the day we shall stumble to our hotel and pass out from exhaustion.

Have a good weekend my friends!

Cytel

Friday, August 19, 2011

One more room complete!

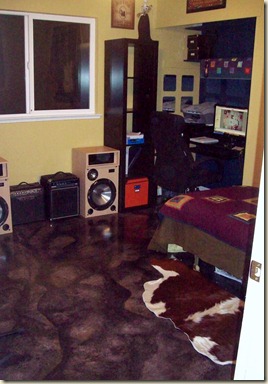
The office / music / guest room is all finished except for the curtains.

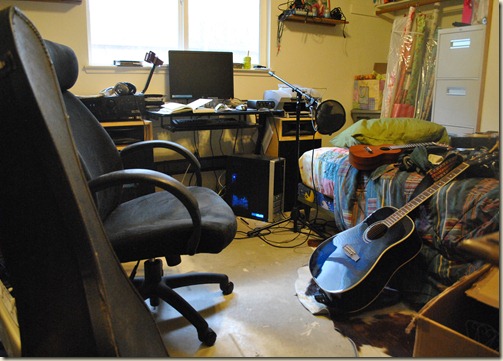
Check out the change … Top is the “after” photos, we painted the walls, built an office desk into the closet. Stained the concrete floors and framed out areas to hang the guitars. If you check out the lower photo of the office you can see what a wreck it was…the floor was blahhhh concrete with old paint and dried on glue. Nothing was organized. we have to much outdated oversized UGLY furniture… my fault I’ll drag home almost any free furniture.
Anyhow now we just love it and it is so great to see a nice clean,cool ,modern room that was transformed from chaos in just a few short weeks.


104_1145104_1148

Before… what a mess eh?

021

Because I’m not one to sit back on my laurels and do nothing I have thrown myself into the Sacramento Modern Quilt Guild’s Free Spirit Habitat Challenge.

104_1146

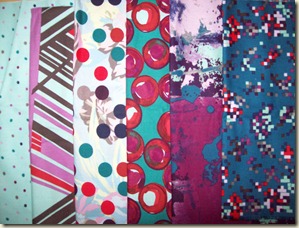
I was given fat eighths of these 6 fabrics above. These are from Jay McCarroll’s fabric line called “Habitat” made by Free Spirit. Remember Jay was a winner on Project Runway a while back. Our challenge is to use these as the focus of our quilt and we can use solids for any other fabrics we may need to complete the look.

I love challenges especially when I am pushed outside my usual comfort zone. For me I would not have sought these fabrics out at the store, but after I came up with various ideas I came to really like them.

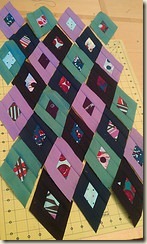
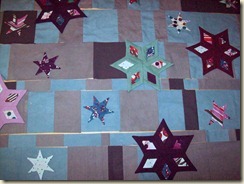
Here are a few of the concepts I thought about…

5983200164_298abef1c1_m5983263297_a89280955b_m104_1290


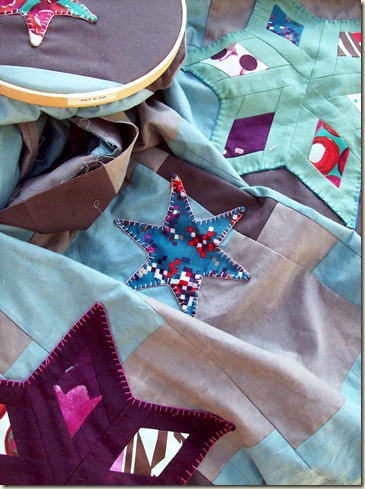
The picture on the right was the winner. I am now hard at work stitching the stars to the background, and I need to make one more large star to complete the layout.

104_1153

Friday, July 29, 2011

I inspired myself with my last post.

I talked of my quilt and my plans for the music room, and by the the time I published the post I was ready to stain the floors and paint the room.

So now it is empty and I am on hands and knees with wire brushes, razor scrapers, scrub brushes and Goof-Off prepping the concrete for staining.

Fingers crossed for smooth sailing….

I’ll post the results next week.

Thursday, July 28, 2011

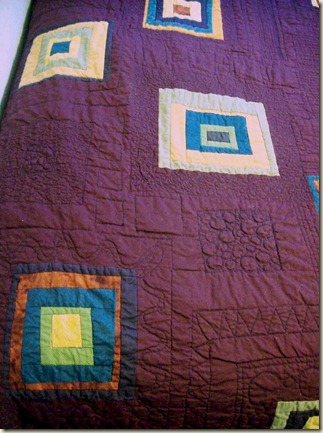
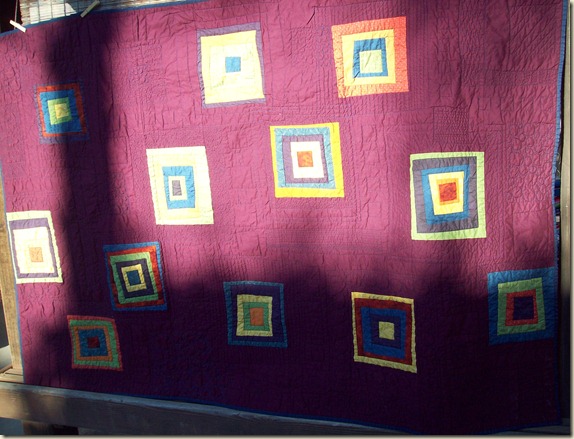
Wonky Squares is done

104_1154-2

It is now finished, quilted and washed. I made it for a twin bed we have in our office/ music room. It really goes perfect for what I have planned in here.

We removed the carpets from the floor… if you ever read my blog a year or so ago you would know the story of all my flooring… needless to say it is all slowly going away and being changed out.

So anyhow, as of now the floor is just plain concrete slab, The walls are boring white…

My plan is to use the dark earthy colors from this quilt ( and they are earthy, my photo is capturing a lot of light) mainly a deep purple color to stain my concrete floor. I will do it like I did in the Master bath, a simple design with a translucent brown over coat. We bought a few more guitar hangers so now we have 5 guitars on the walls, more on the floor stands… keyboards, amps all sorts of stuff. I want to make the room masculine, and for it to have a musical/ creative vibe. I’d like to paint 3 walls in one color and the fourth wall a dark color, make some heavy curtains with a sheer golden curtain behind so gusts and musicians can block out the light and just shut themselves in. My concern with wall colors is this is a small room, and dark will probably make it appear smaller… perhaps the dark color will be the one wall and a lighter color on the other three… I don’t know.

This quilt picks up the colors of a couple of the guitars, like the midnight blue. the golden yellow… my whole color scheme is based n this quilt. I need help choosing wall colors, I always pick odd colors that are just to much to handle…. anyone want to help ?

I think I will make a nice floor carpet to go with this quilt and the overall room theme, I am really leaning toward deep maroons and purples and gold's… just think about it makes me want to go fabric shopping.

104_1148-4

Sunday, July 3, 2011

Mexican Artists, I thank you.

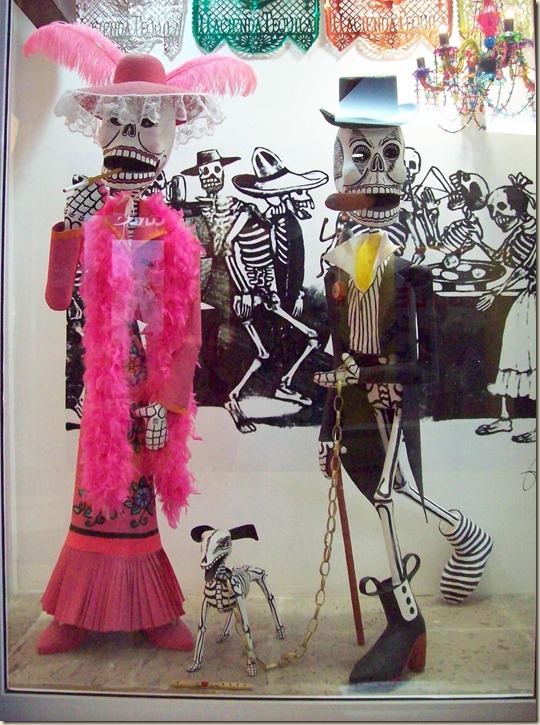
I just got home a few days ago from Cabo San Lucas Mexico and I am inspired. While Cabo was a blast, with fantastic food friendly people and an ocean to die for. What really got my inner muse inspired was a small town to the north called Todos Santos.

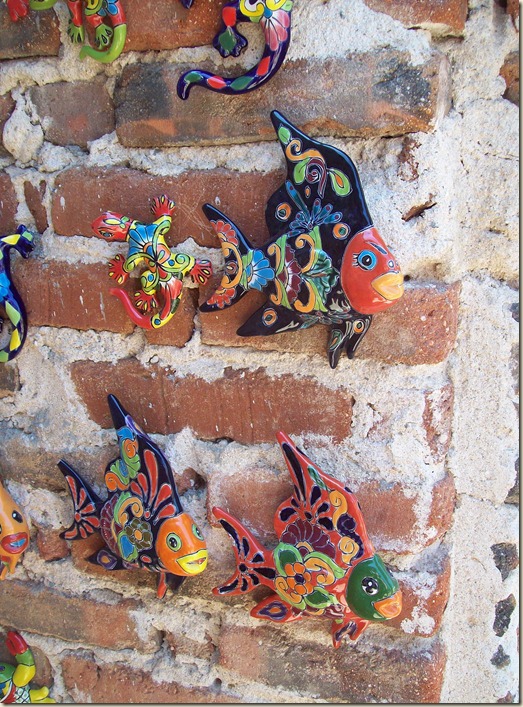
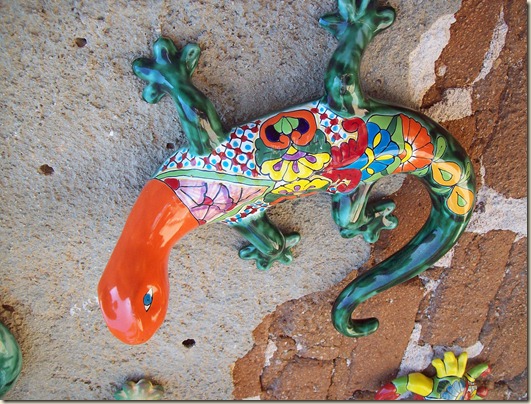
Todos Santos is a smaller quit town with an artistic vibe. There where art galleries and vendors not unlike Cabo but the art was so superior, the ceramics of fishes, geckos, dishes of every sort, the skeletal Catrina’s with their flowers and veils, glittered day of the dead art, inlaid urns … lordy I wish I had taken more photo’s. below is just a snippet of the beauty you can see there and around Mexico.

104_1254104_1255104_1184

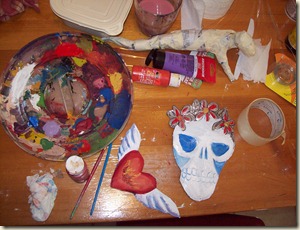
After immersing myself into this place for the last two weeks my muse has found me yet again. Today I sat in my Hot 100 degree garage and cut and embossed tin cans… made paper clay, painted and made a huge art mess in my kitchen.

104_1145104_1148

Up on the left you can see a little of the paper mache Catrina’s I am working on… Oh I am super excited, now I have an excuse to use lots of glitter and sequins!! Oh how I love sparkles.

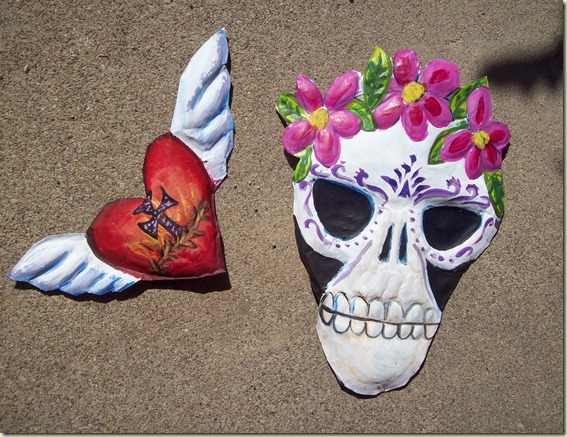
On the right you can see the tin art for my patio wall I am making. I plan to also make some birds and a mermaid…

Below is the near finished pieces, all they need now is a wire to hang from.

104_1150

Wednesday, June 15, 2011

Cabo Here we come!

I'm totally excited… we will be in Cabo San Lucas this time next week. I am so very excited Smile

To make things even better I found not one but 2 fabric stores near my rental. One within walking distance, OMG what will I buy.. what will I make???

Don’t yet know, stay tuned to see….

Now I’m off to work on a tan so I don’t get scorched down there. And yes I know it is not wise to lay out. No need to inform me of that. I do wear sunscreen, so keep all helpful advise to yourself.

Cheers,

Cytel

Friday, June 10, 2011

The Grandpa Bertal Tomato

The story goes something like this.... When I find a more accurate account I shall edit.

Anyone who ever played the game telephone knows how a story changes through its many telling's and the 1930’s where a LONG time ago.

Near the end of the Great Depression My grandparents and another family had one car among about 9 people, they loaded it up and set out for the Great Northwest from somewhere near Nebraska. They took turn riding in the car on the car and walking beside the car.

Grandpa Bertal carried with him some special tomato seeds and when they settled in Bonners Ferry, Idaho he planted them, and shared the seeds with others. The tomato’s story was at that time, not told to his kids. Perhaps they ate them for years not knowing he carried them and found them special enough to save and share.

Well Grandpa died in the late 80's I believe, and our family had not seen these tomatoes since long before that... he either never mentioned this story of bringing them and he also grew to old for gardening. So the tomato's were no longer known to my family.

Last year My mom had her 40th high school reunion up in Bonners Ferry, while there she met a nursery man, who was so pleased to see a relative of ol' Bertal. He told her the story as he knew it of these special tomatoes and gave her a few precious seeds.

She shared with me a few of these and of the nine I planted 3 came up.

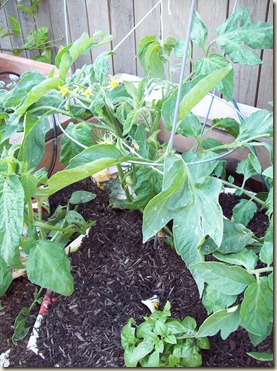
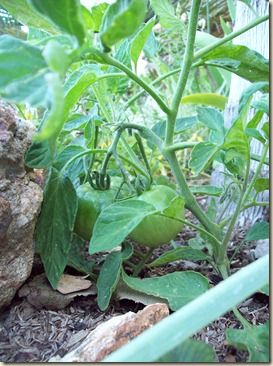
What I find interesting about this tomato versus other varieties is the leaves. They are very wide and fairly smooth. I have yet to eat one but as you can see from the photo, I have 2 growing and more to come…

I would love to know if this is a regular known Heirloom, for certainly it must be an heirloom if he saved the seeds from his farm back in the 1930’s. Or is it one of the many, that may have died off if not for the seed savers of the world.

104_1145-4104_1150-2

I will of course save my seeds like a good steward of the earth would do….

Tuesday, February 22, 2011

Crazy Quilt and Fabric Painting.

Idle hands are the devils instrument.

My hands are never idle, I always am doing something, and generally it is a sewing or fiber related project.

This week I have been busy painting some fun little motifs to crazy quilt upon. It started last week when I received a lovely note from a dear friend with a hand made little card. I have not written or called my friend in ages so I decided to make her a nice little post card with a UFO ( un-finished object) I had laying around for the last year.

Last year I painted this beetle and did a little patchwork quilting around it, started the embroidery then buried it in a pile of things I "would get back to."


Here is the finished postcard it is about 4"x 5" or so, and I sewed heavy paper to the back and wrote a note to send. I imagine it will be a nice surprise in the mailbox instead of a bill or a pile of junk mail.

I was so happy with my results I broke into my newest fabrics Moda Cross Weaves, very similar to Kaffe Fasset shot cottons. The warp and the weft are different colors or shades of colors and it gives the fabrics a homespun, earthy feel.


I broke out my paints and painted up a few designs. My least favorite was the seahorse, so I figured I would take the bull by the horns and start the embroidery with that one.
I decided to try some new and more difficult stitches, this one to the left is a weave across two threads, I am doing it in segments to create coral.
In this photo you can clearly see the warp and weft of the cross woven fabric as well, I really like it.


I am really pleased with the seahorse so far, while I thought it was blah at first I found lots of inspiration and an feeling really good with the results so far. I still have a more fauna and flora I want to add, more kelp and seaweed, perhaps a sea flower or a fish.... not sure yet

For a larger view just click the pictures.


.


Monday, February 7, 2011

WIP Modern Patchwork


Funky, Folksy and functional... a patchwork table topper from my leftover parts of a much larger project.

Still Working on it, I have been hand stitching and embroidering every inch of it. The texture is just what I was going for. The backside is an added bonus, because it is as interesting as the front and there are no knots or stay strings showing. So it is reversible.


My inspiration started here on The Silly Boo Dilly site. I am drawn to all her quilts and patchwork creations. Then I began to investigate the techniques that she is inspired by such as Japanese Boro and found a whole new source of ideas and things to ponder in my own future work.

I am also drawn to the quilting style of Gee's Bend, which is a utilitarian quilting style using old work clothes and used fabrics as not to waste anything. It is also visually striking, wonky, modern and to me, very interesting.

Sunday, January 30, 2011

Sunday was for Sausage making

Steve and I were very very productive today. I finally got the sausage stuffer attachment for my beloved Kitchen Aid, so today was sausage making day.


We ground meat, chopped onion, pounded spices, mixed and stuffed until we had 46 sausage links. Then we packaged and froze the bulk then had a few for our supper. Damn they were good. I think the thing I may actually love the most is I know exactly what is in my links and there is not a snout, an ass, an ear or any strange preservatives. Only good old fashioned meat from the parts of the beast I do like to eat.

We made four different kinds of sausage links today, the first was Pork Italian sausage, then Pork Sage breakfast sausage. Next came my favorite, the Chicken Apple and Chipotle links and finally the Chicken, Basil, Feta and Sun Dried Tomato.

This was our first ever attempt at sausage making, and it was awesome. they links are really good, and will only get better as we tweak our recipes.

For dinner we roasted a few with red peppers, potatoe, onion and mushroom.... yum.


Thursday, January 27, 2011

So what to Sew ...


I've been working on these wonky squares, I LOVE them, they don't conform to rules and I don't need instructions to create them. They are not perfect each is unique and not one of them is truly an actual square.

As you can see from the photo with the cats, I had sewn together my first 5 squares thinking I would make a patchwork quilt or throw with only squares. After I pondered and thought a bit about what I was making, I decided I like each square separate and not crowded by its neighbor.

So the new plan is more like the second picture, I will place them randomly throughout on a solid background. This will be a twin quilt for our music/office/guest room. Anyone what to bet me how long it will take to complete?

With that in mind, here is another new project... yes I have like 5 projects going at one time.
This one is really inspiring to me. Although I wonder, if even though I painted a sketch and laid out fabric samples can others see the vision I see and can they see the alluring beauty of it?

I intend this to be an art quilt to just hang on the wall. It will be about 36"x36" I think. So far it is nothing more than an idea.